Pay in installments of $7.15 with
 ,
,
 and
and

Shipping Estimate
USA
- USA
- CAN
- USA
- CAN
Ships within 48 hours · Estimated delivery Sep 25 - Sep 30
 Promo Codes Available:
For Your Every Summer RSVP, with Code: SUMMER15
Description
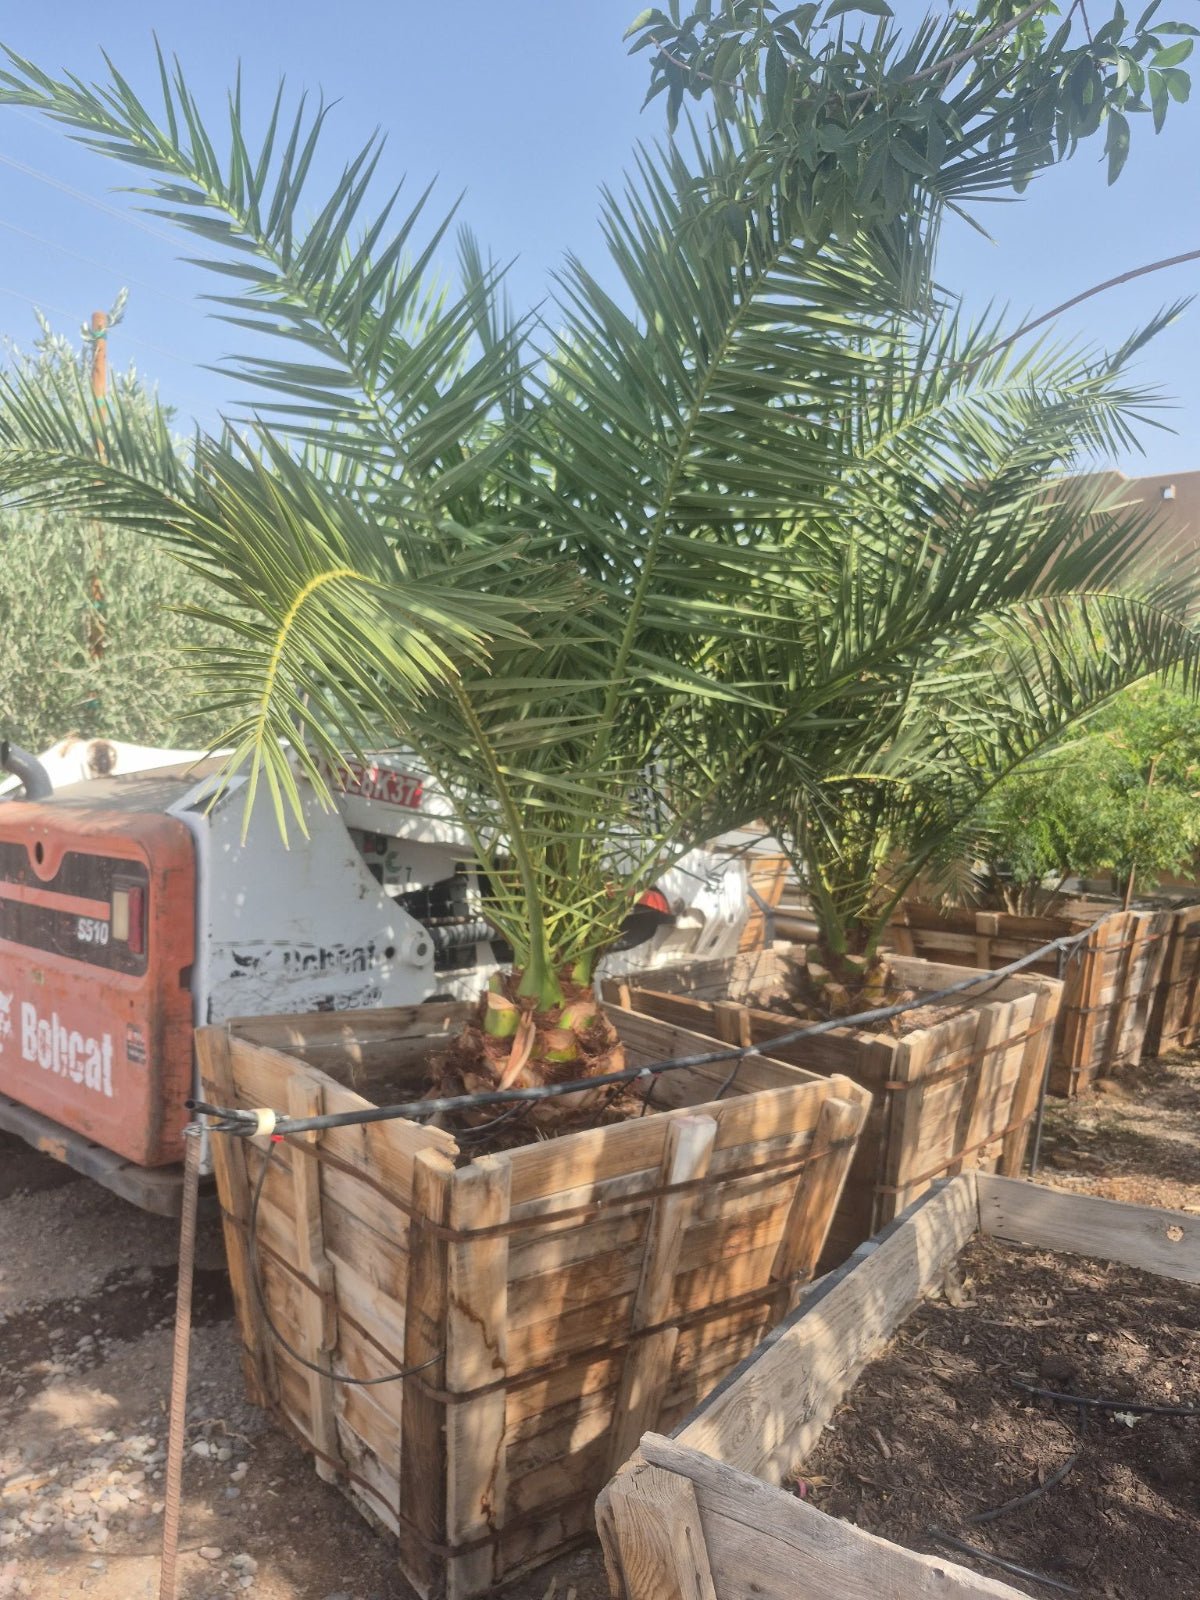
large palm plants for sale Buy Pineapple Palm Phoenix, AZ | Phoenix canariensisA Bold Statement Palm for Phoenix Entryways Pineapple Palm The Pineapple Palm (Phoenix canariensis) is the ultimate showpiece palm for Phoenix area landscapes. Named for the distinctive pineapple shaped crown where old frond bases wrap the trunk top, this majestic palm commands attention with its massive crown of dark green, arching feather fronds and thick, rugged trunk. Growing 4060 feet tall at maturity, the Canary Island Date Palm (as its also
A Bold Statement Palm for Phoenix Entryways — Pineapple Palm
The Pineapple Palm (Phoenix canariensis) is the ultimate showpiece palm for Phoenix-area landscapes. Named for the distinctive pineapple-shaped crown where old frond bases wrap the trunk top, this majestic palm commands attention with its massive crown of dark green, arching feather fronds and thick, rugged trunk. Growing 40–60 feet tall at maturity, the Canary Island Date Palm (as it’s also known) is a landscape centerpiece that adds instant value and grandeur. Whether you’re creating a resort-style entry in Scottsdale, anchoring a Chandler front yard, or framing a Mesa pool area — the Pineapple Palm delivers unmatched presence and Arizona-proven toughness.
Pineapple Palm Plant Details
| Attribute | Detail |
|---|---|
| Scientific Name | Phoenix canariensis |
| Common Names | Pineapple Palm, Canary Island Date Palm, CIDP |
| Mature Height | 40–60 feet |
| Mature Width | 25–35 feet (canopy spread) |
| Growth Rate | Slow to moderate — 1–2 feet per year in Phoenix |
| Sun | Full sun (6+ hrs). Thrives in reflected heat from walls and pavement. |
| Water | Low to moderate once established. Drought-tolerant. |
| USDA Zones | 9–11 (Phoenix is Zone 9b–10a) |
| Soil | Well-draining preferred. Adapts to Arizona caliche soils with proper planting. |
| Foliage | Evergreen — dense crown of dark green feather fronds year-round |
| Trunk | Thick, textured diamond pattern from old frond bases; pineapple-shaped crown shaft |
Pineapple Palm Uses in Phoenix Landscapes
Grand Entryway & Focal Point
The Pineapple Palm is the premier choice for creating a dramatic first impression. A single specimen in the center of a circular driveway or flanking a Scottsdale front entrance makes a statement that no other tree can match. Their massive canopy and sculptural trunk give properties a resort-quality aesthetic that increases curb appeal and home value throughout Paradise Valley, Arcadia, and North Scottsdale.
Pool & Outdoor Living Areas
Despite their size, Pineapple Palms work beautifully near pools and patios in Chandler and Gilbert. Their high canopy provides filtered shade without blocking views, and frond litter is manageable with regular trimming. The thick trunk and bold crown create a stunning backdrop for outdoor entertaining spaces. Pair with Yellow Bells or Ruellia at the base for tropical color.
Commercial & HOA Landscapes
Pineapple Palms are widely used in commercial projects, resort entries, and upscale HOA common areas throughout the Phoenix metro. Their stately presence, low water needs, and long lifespan make them a smart investment for Tempe business parks, Peoria shopping centers, and Glendale community entrances.
Best Time to Plant Pineapple Palm in Phoenix
Fall (October–November) is the ideal planting window. Warm soil promotes root establishment while cooler air reduces transplant stress on this heavy palm. The tree gets 6–8 months of root growth before its first full Phoenix summer. Spring (February–April) is the second-best option. Because Pineapple Palms are slower growing, giving them a fall start maximizes their establishment period.
How to Plant Pineapple Palm
- Dig wide, not deep — excavate 2–3x the root ball width at the same depth. The root flare should sit at or slightly above soil level.
- Check for caliche — break through any hardpan layer to ensure drainage. Standing water will damage roots.
- Backfill with native soil — a light 20% organic amendment is fine. Avoid heavy compost that retains too much moisture.
- Spacing — plant 25–30 feet from structures and other large trees to accommodate the wide canopy.
- Water basin — build a 4–6 inch soil ring around the root zone to direct water during establishment.
- Mulch — apply 2–3 inches of gravel or bark mulch to retain moisture and regulate soil temperature.
Watering Pineapple Palm in Phoenix
First Year Watering Schedule
- Weeks 1–2: Every 1–2 days, deep and slow (30–45 min drip cycle)
- Months 1–2: Every 3–4 days
- Months 3–6: Every 7–10 days (every 5–7 days in peak summer)
- After Year 1: Every 10–14 days in summer; every 3–4 weeks in winter
Drip Irrigation
Place 3–4 emitters (2 GPH each) in a ring 24–36 inches from the trunk. As the palm matures, expand the emitter ring outward to match the canopy drip line. Established Pineapple Palms are quite drought-tolerant and need only deep, infrequent watering.
How fast does Pineapple Palm grow in Phoenix?
Pineapple Palms are slow to moderate growers, adding 1–2 feet per year in Phoenix. They’re a long-term investment — a 25-gallon palm may take 8–10 years to reach its full height. For faster impact, start with a 36” Box specimen.
Is Pineapple Palm drought tolerant?
Yes. Once established (2–3 years), Pineapple Palms are quite drought-tolerant and need only deep watering every 10–14 days in summer. They handle Phoenix heat and low humidity much better than most tropical palms.
What’s the difference between Pineapple Palm and True Date Palm?
Pineapple Palms (Phoenix canariensis) are ornamental and don’t produce edible dates. True Date Palms (Phoenix dactylifera) are taller, more slender, and produce the familiar Medjool dates. Pineapple Palms have a thicker trunk, wider canopy, and the distinctive pineapple-shaped crown shaft.
Do Pineapple Palms have thorns?
Yes — the lower frond stems have sharp spines. Professional trimming is recommended, and planting away from high-traffic walkways is wise. The spines are only at the frond base, not on the trunk or canopy.
You May Also Like
- Pygmy Date Palm — a miniature feather palm for patios and courtyards, growing just 8–10 feet tall.
- Queen Palm — a fast-growing feather palm with graceful arching fronds for tropical shade.
- Mediterranean Fan Palm — a compact multi-trunk fan palm, perfect for modern desert landscapes.
- Sago Palm — a prehistoric-looking cycad with stiff, dark green fronds — great for dramatic accents.
How Many Pineapple Palms Do I Need?
Pineapple Palm is a massive specimen palm with a 25 to 35 foot canopy, so it is placed as a focal point, not run as a hedge. Use these layouts:
- Single focal point: one palm in a circular drive island or front-yard lawn cutout, set 25 to 30 feet from the house and away from other large trees so the full crown develops.
- Symmetrical pair: flank a grand entry or gate with two palms, keeping each at least 25 feet from structures and roughly 25 to 30 feet apart.
- Formal allee: for long drives or commercial entries, line a row 25 to 30 feet on center for a resort colonnade effect.
Because the lower frond stems carry sharp spines, keep the trunk well back from walkways, patios, and pool decks so trimming and frond drop stay clear of foot traffic.
Pineapple Palm Season-by-Season in Phoenix
- Spring (Feb–Apr): a fresh flush of fronds expands the crown and creamy flower stalks emerge; a solid second planting window once soil warms.
- Summer (May–Sep): peak growth, with excellent heat and reflected-heat tolerance through the hottest months. Deep, infrequent soaks carry it through, and monsoon storms are no issue for this sturdy palm.
- Fall (Oct–Nov): the prime low-desert planting season; maximizes root establishment before summer, while the dark green crown stays full.
- Winter (Dec–Jan): evergreen and cold-hardy to roughly 20°F, so it shrugs off typical Valley winters. Hard freezes below the low 20s can brown fronds on young palms, but established specimens recover.
At a Glance
✔ Heat-Loving (Reflected-Heat Tolerant) ✔ Drought-Tolerant ✔ Evergreen ✔ Low-Maintenance ✔ Shade-Providing ✔ Cold-Hardy to 20°F
Plant It With
- Pygmy Date Palm: a miniature feather palm that echoes the crown shape at the base of the giant.
- Queen Palm: a graceful feather palm that layers a softer tropical texture nearby.
- Mediterranean Fan Palm: a low multi-trunk fan palm that contrasts the single bold trunk.
- Red Yucca: a tough, low-water accent with coral spikes to color the wide understory.
Is Pineapple Palm Right for Your Yard?
Pineapple Palm thrives in full Phoenix sun and reflected heat, handles caliche when the hole is dug wide and drains well, and earns its keep as a long-lived, low-water centerpiece. It is not a fit for small lots, tight courtyards, or planting near walkways and pool decks: the crown spreads 25 to 35 feet, the palm is heavy and slow, and the spiny lower fronds demand clearance and professional trimming.
Shipping Notes
- Free Standard Shipping on $100+ Orders to the USA.
- Except Preorder products are shipped in 48 hours.
- Delivery to the USA:
- Standard Shipping : 3-10 business days
- If time is of the essence, please consider selecting expedited delivery for faster service.
Exchange/Return Notes
- We offer a 30-day return/exchange service after receiving.
- Final sale items are not eligible for returns or exchanges.
- To process your return/exchange, please contact us at [email protected]
- Please click here for more details>>> Return & Exchange Policy